So, you're looking at stucco for your home here in Provo. Maybe you're building new, or perhaps you're just thinking about giving an older place a fresh face. It's a really solid choice, especially with our crazy Utah weather, right? But it's not something you just jump into without knowing a few things first. Here's my take on what you need to understand, from start to finish.
Before You Even Think About Stucco
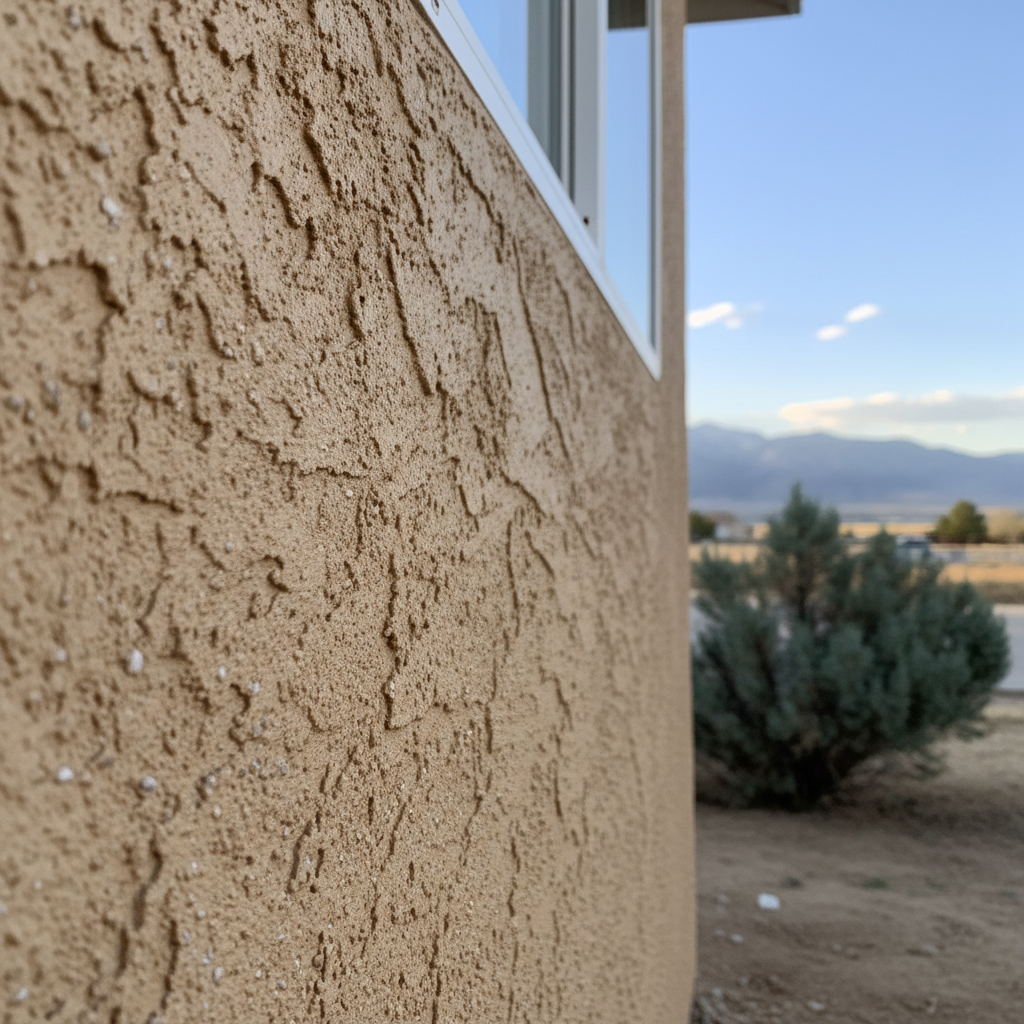
First off, let's talk about what you're actually getting into. Stucco isn't just paint; it's a multi-layered system that needs to breathe and shed water. If you're recladding, you really have to consider the condition of your existing walls. Any moisture issues, rot, or structural problems? You've got to fix those first, no exceptions. Putting stucco over a bad foundation is like putting a fancy hat on a broken head – it just won't work out long-term.
Then, think about your budget. Stucco isn't the cheapest option right away, but its durability and low maintenance can definitely save you money later on. Get a few quotes, sure, but don't just pick the lowest price. Ask what's actually included. Are they using a proper drainage system? Are they flashing windows correctly? These kinds of details matter way more than the color you pick, believe me.
And speaking of details, consider your home's style. Stucco is super versatile, but some finishes just look better on certain architectural styles. A smooth finish might look sleek on a modern home, for instance, while a traditional Santa Fe or Spanish Colonial style often needs a more textured, hand-troweled look. We've got a lot of different home types around here, from the older homes near BYU to the newer developments out by Geneva Road, so think about what fits your neighborhood and your house's character.
During the Stucco Project: What to Expect
Alright, you've decided to go for it. What happens next? If you're hiring a pro – and for anything beyond a tiny patch, you really should – they'll handle most of this. But it's good to know the steps so you can ask smart questions and keep an eye on things.
- Preparation is Key: This means cleaning the walls, making any needed repairs, and putting on a weather-resistive barrier (WRB). This barrier is super important. It's your home's raincoat, underneath the stucco. Don't let anyone cut corners here.
- Lath Installation: Next comes the metal lath; it gives the stucco something to grab onto. Workers staple or nail it to the wall.
- Scratch Coat: This is the first layer of stucco. They apply it right to the lath and scratch it horizontally to create a rough surface for the next layer to bond to.
- Brown Coat: This is the second layer, sometimes called the leveling coat. It smooths things out and gets the wall ready for the finish. Both the scratch and brown coats need proper curing time – usually a few days each – to get strong. Don't rush this part.
- Finish Coat: This is the pretty part, the final layer that gives your home its color and texture. This is where the artistry really shows.
Can you DIY any of this? Small repairs, maybe. A hairline crack or a small chip? You can probably find a patch kit and follow the instructions. But a whole wall, or even a big section? That's a huge job. Getting the mix right, applying it evenly, and making sure the flashing and drainage are correct is a skill that takes practice. I've seen too many homeowners try to save a buck and end up with water problems or a finish that looks like a bad art project. If you're not confident, call someone who does this every day. That's what Charis Stucco Company is here for, after all.
After the Stucco is Done: Maintenance & Care
So, you've got beautiful new stucco. Now what? The good news is, it's pretty low maintenance. But 'low' doesn't mean 'none.' Here's what you need to do:
- Keep it Clean: Dirt, dust, and even mildew can build up, especially on the north-facing sides of homes here in Provo that don't get as much sun. A gentle rinse with a garden hose usually does the trick. For tougher spots, a mild detergent and a soft brush can work. But avoid high-pressure washers – they can damage the finish and even force water behind the stucco.
- Inspect Regularly: Walk around your house a couple of times a year. Look for cracks. Hairline cracks are pretty normal with stucco as the house settles and temperatures change. Most aren't a big deal. But if you see cracks wider than a credit card, or if you see patterns of cracking (like a stair-step crack), that could point to a bigger issue.
- Check Flashing and Sealants: Pay attention to the areas around windows, doors, and where the stucco meets other materials. Make sure the caulk or sealant is still good, not cracked or peeling. These are common spots for water to get in.
- Address Problems Quickly: If you spot a problem, don't ignore it. A small repair now can prevent a much bigger, more expensive repair later. Water is the enemy of any exterior system, and stucco is no exception.
Stucco is a fantastic exterior choice for homes in our area. It's durable, energy-efficient, and looks great when it's done right. Just make sure you go into it with your eyes open, understand the process, and know when to call in the pros. It'll save you a lot of headaches in the long run.